Solar asset list
Your solar asset list is the central place on Tensor Cloud where you can create new assets, edit asset base data, and easily assign assets to PPAs.
Basic navigation
All solar PV assets are shown in a list that can be searched and sorted. Each line represents a single asset.
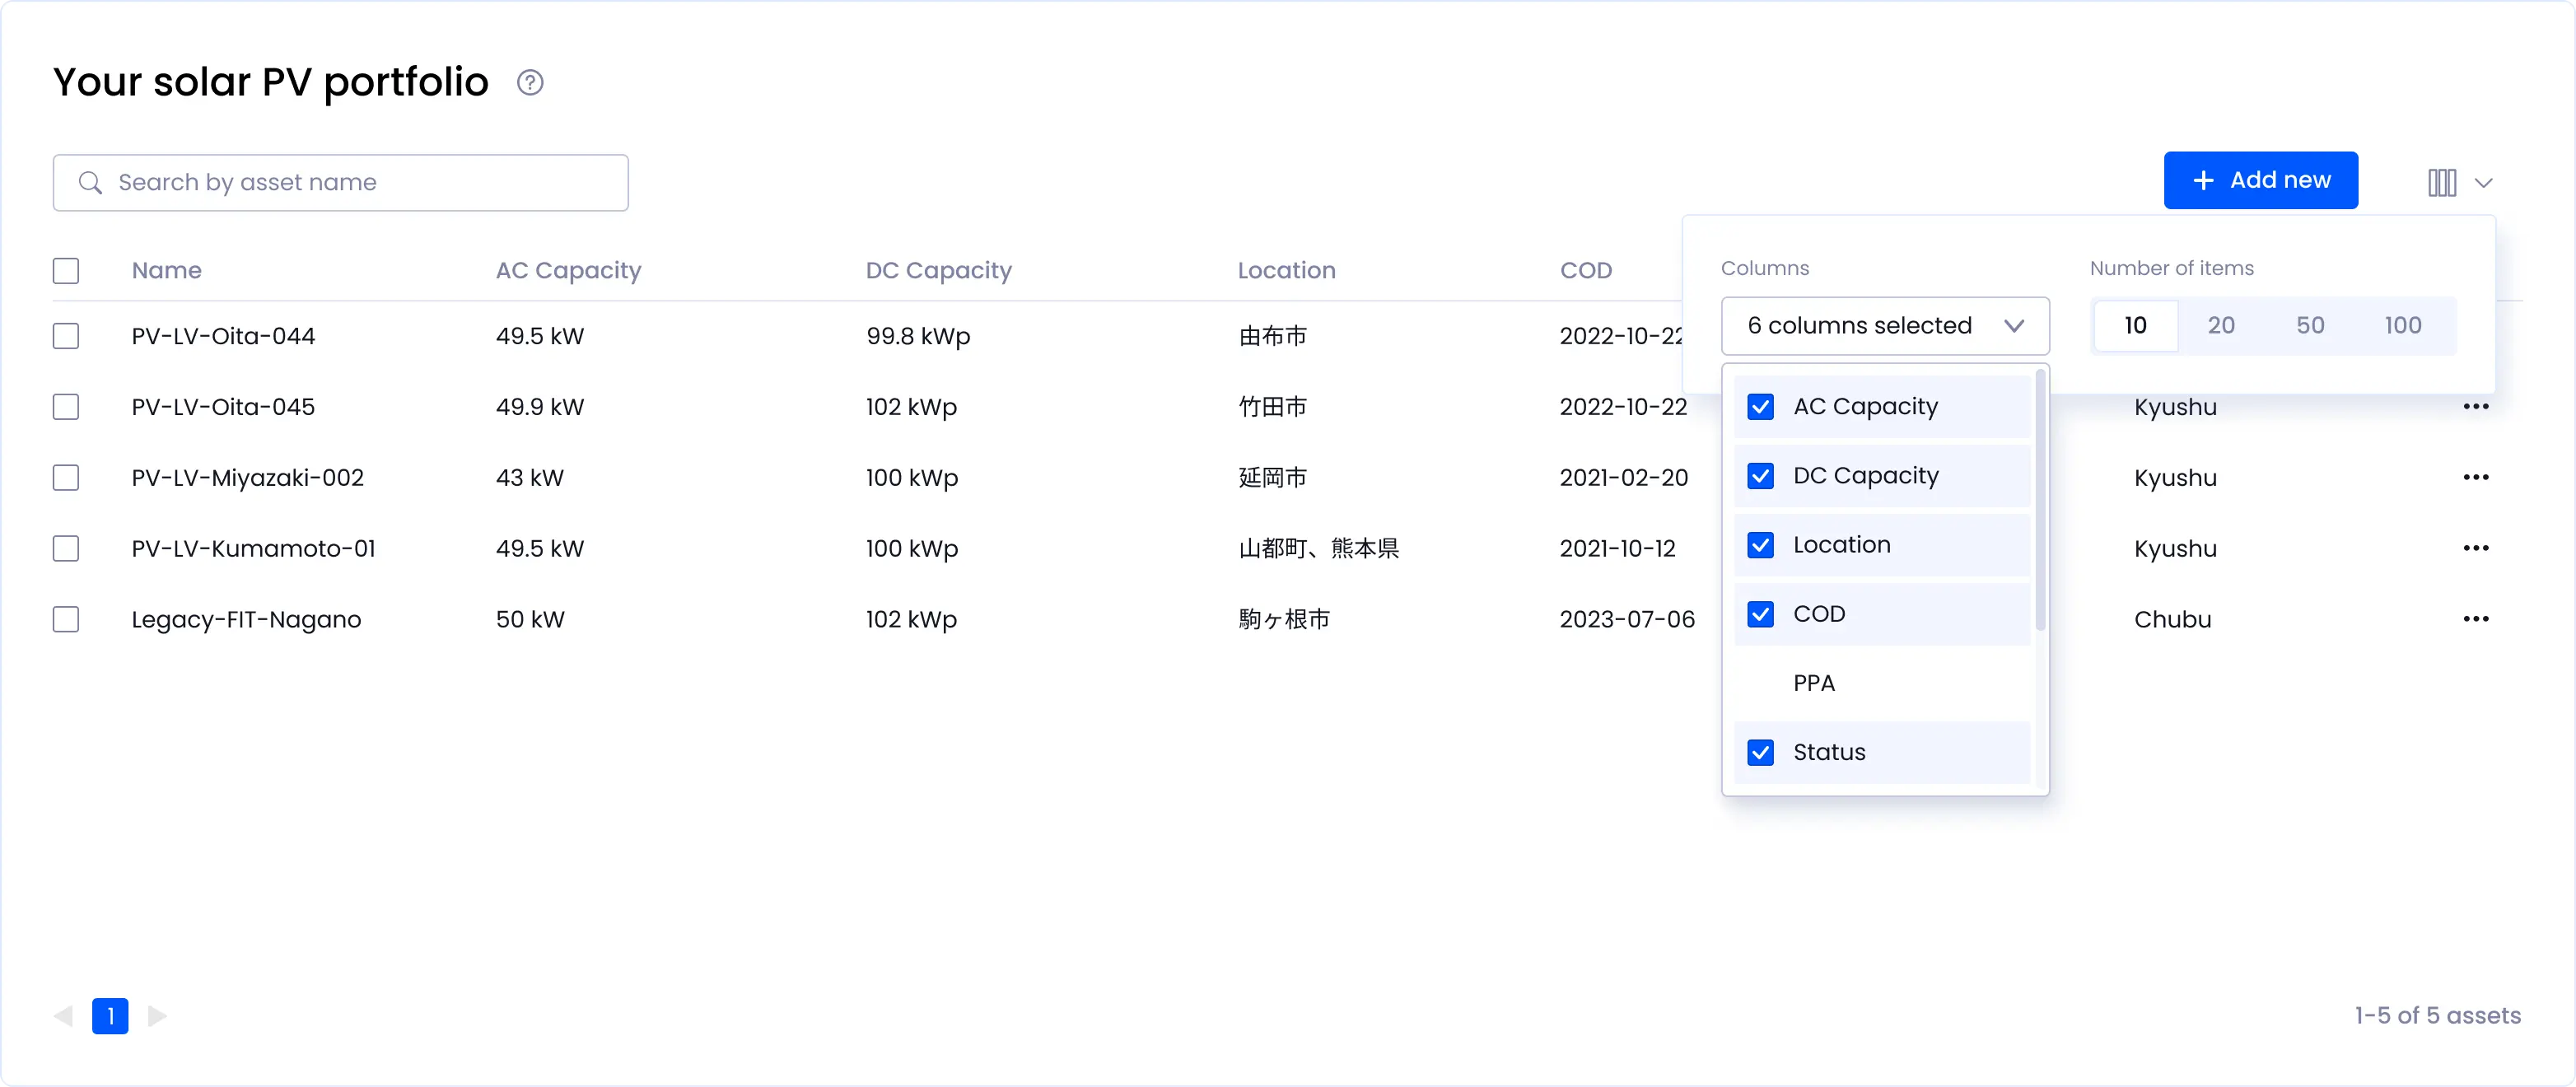
Showing and hiding columns
Depending on your screen size and resolution, you might want to hide or show additional columns in the asset list. Access the Table Settings menu through the top right icon on the asset list.
Sorting
To sort your asset list, click on any column name to sort in descending order, click again to sort in ascending order, and click once more to remove sorting.
Pagination
Tensor Cloud allows you to expand the number of the assets in the list by clicking on the Table Settings icon and selecting your preferred number of shown assets. This makes it easier to manage portfolios with large number of assets.
Selecting assets
You can select one or multiple assets by clicking on the checkboxes at the beginning of each line in the asset list. To select all assets visible on the current page, click the topmost checkbox in the column header.
Viewing asset results
You can view details such as system specifications, generated electricity, OPEX and CAPEX, revenues and cash flows for each asset by clicking directly on its name in the asset list or by clicking the three-dot menu at the end of each asset in the asset list and selecting "View". For more details refer to Asset view.
Editing assets
To edit an asset, click the three-dot menu on the right side of each line in the asset list. Refer to Solar asset settings for more details.
Renaming assets
You can rename assets directly in the asset list by clicking the three-dot menu on the right side of each line in the asset list and selecting "Rename".
Adding new assets
Based on how many assets you need to create, there are multiple options available:
-
Single: To add new assets to the platform one by one, click on "Add new" button and start entering the required information directly in your browser. This is our recommended way for modeling greenfield projects on Tensor Cloud. For a detailed explanation on every field, refer to the Solar asset settings documentation.
-
Multiple: Contact us if you have a large existing portfolio of assets. Our team is happy to help you import your assets into Tensor Cloud.
-
Copy: If you have already created an asset and wish to create one or multiple copies, simply select the Copy option from the three-dot menu on the right side of each line in the asset list.
Deleting assets
The easiest way to delete an asset is to select it in the asset list and click the "Delete" button in the floating button menu at the bottom of the screen. You can also delete asset by pressing the "Delete" button at the bottom when editing an asset.
Adding assets to PPAs
You can assign one or multiple assets to a PPA directly from the asset list. Select the assets you want to add, then click the "Add to PPA" button that appears in the float menu on the bottom of the list. In the next dialog, select the PPA and click the "Confirm" button.
Adding assets to a PPA will affect both the assets and the PPA, and force a re-calculation of financial outcomes. Depending on the number of assets affected, this might take some time.
Assets under FIT cannot be added to a PPA, however, assets assigned to a different PPA will be automatically re-assigned. This will affect outcomes of both PPAs.